
Duskfade Walkthrough
A complete release-version route from the Opening through Tick Town, the four paths, every major boss, and the post-story cleanup. Use this page when you need the next area or the next boss.
Stage Index
Twenty-four stage pages cover Tick Town, the four returnable paths, and The Tower. Open the page for the area you are in, or use the next-stage link at the bottom of each page.
Volcano Path
Sea Path
Hills Path
Desert Path
Quick Progression Route
Use Tick Town as your hub. From there, follow the active story objective into one of the four returnable paths. The complete release-version sequence is:
| Stage | Areas | What matters |
|---|---|---|
| Hub | Tick Town | Shops, NPCs, Fast Travel, path select |
| Volcano Path | Ezarus Forest → Scorched Grove → Starstone Mines → Mount Cinder → Prison of the Beast | Forest, mine, and volcano push. Wrath sits at Howling Geode just before Mount Cinder. |
| Sea Path | Meridian Village → Lantern Port → Clockwork Academy → Apprentice’s Wing → Craftsman’s Wing → Great Library → Scriptorium of the Twelve | Longest path. Academy interiors hold Sadness and The Watcher. |
| Hills Path | Canal Hamlet → Celestial Kingdom → Royal Highroads → Auric Palace → Veiled Chambers | High-road and palace route. Father Gaoth closes it at Veiled Chambers. |
| Desert Path | Deepthorne → Stonetusk Canyon → Clockmaker’s Rest → Desert of the Last Memory → Chronos Aeternum | Late desert and clock ruins. Solitude and Anchored Wilhelm sit near the finish. |
Some guides spell the first Volcano area Erazus Forest; the in-game and most current material use Ezarus Forest. Both refer to the same stage.
| Path | Stage pages |
|---|---|
| Hub | Tick Town |
| Volcano | Ezarus Forest · Scorched Grove · Starstone Mines · Mount Cinder · Prison of the Beast |
| Sea | Meridian Village · Lantern Port · Clockwork Academy · Apprentice’s Wing · Craftsman’s Wing · Great Library · Scriptorium of the Twelve |
| Hills | Canal Hamlet · Celestial Kingdom · Royal Highroads · Auric Palace · Veiled Chambers |
| Desert | Deepthorne · Stonetusk Canyon · Clockmaker’s Rest · Desert of the Last Memory · Chronos Aeternum |
| Endgame | The Tower |
How To Use This Walkthrough
This page answers where do I go next and what should I not miss. It is not a plot recap and it does not list every collectible.
- Follow the story first.
- Pick up nearby items.
- Mark blocked routes instead of forcing them.
- Return later with the full movement kit.
- Check the missable reminder boxes before you leave a hub or boss arena.
For full item names and counts, use the Collectibles Guide. For the trophy list, use the Achievements page. For first-hour controls, use the Beginner Guide.
Opening / Prologue
Main Objective
The opening puts Zirian at the Clock Tower after his sister is lost and the land is stuck in night. You meet the mechanical companion Cuckoo and get pushed toward Tick Town.
Route
Play the scripted opening, learn the first movement and combat prompts, then accept the drop into Tick Town. The first attempt at saving Allira is an early story beat, not a full level; do not stop here to farm.
Return Later
The Tower and several late story beats come back to this location. You do not need to hunt optional collectibles here before you have Fast Travel and the later movement kit.
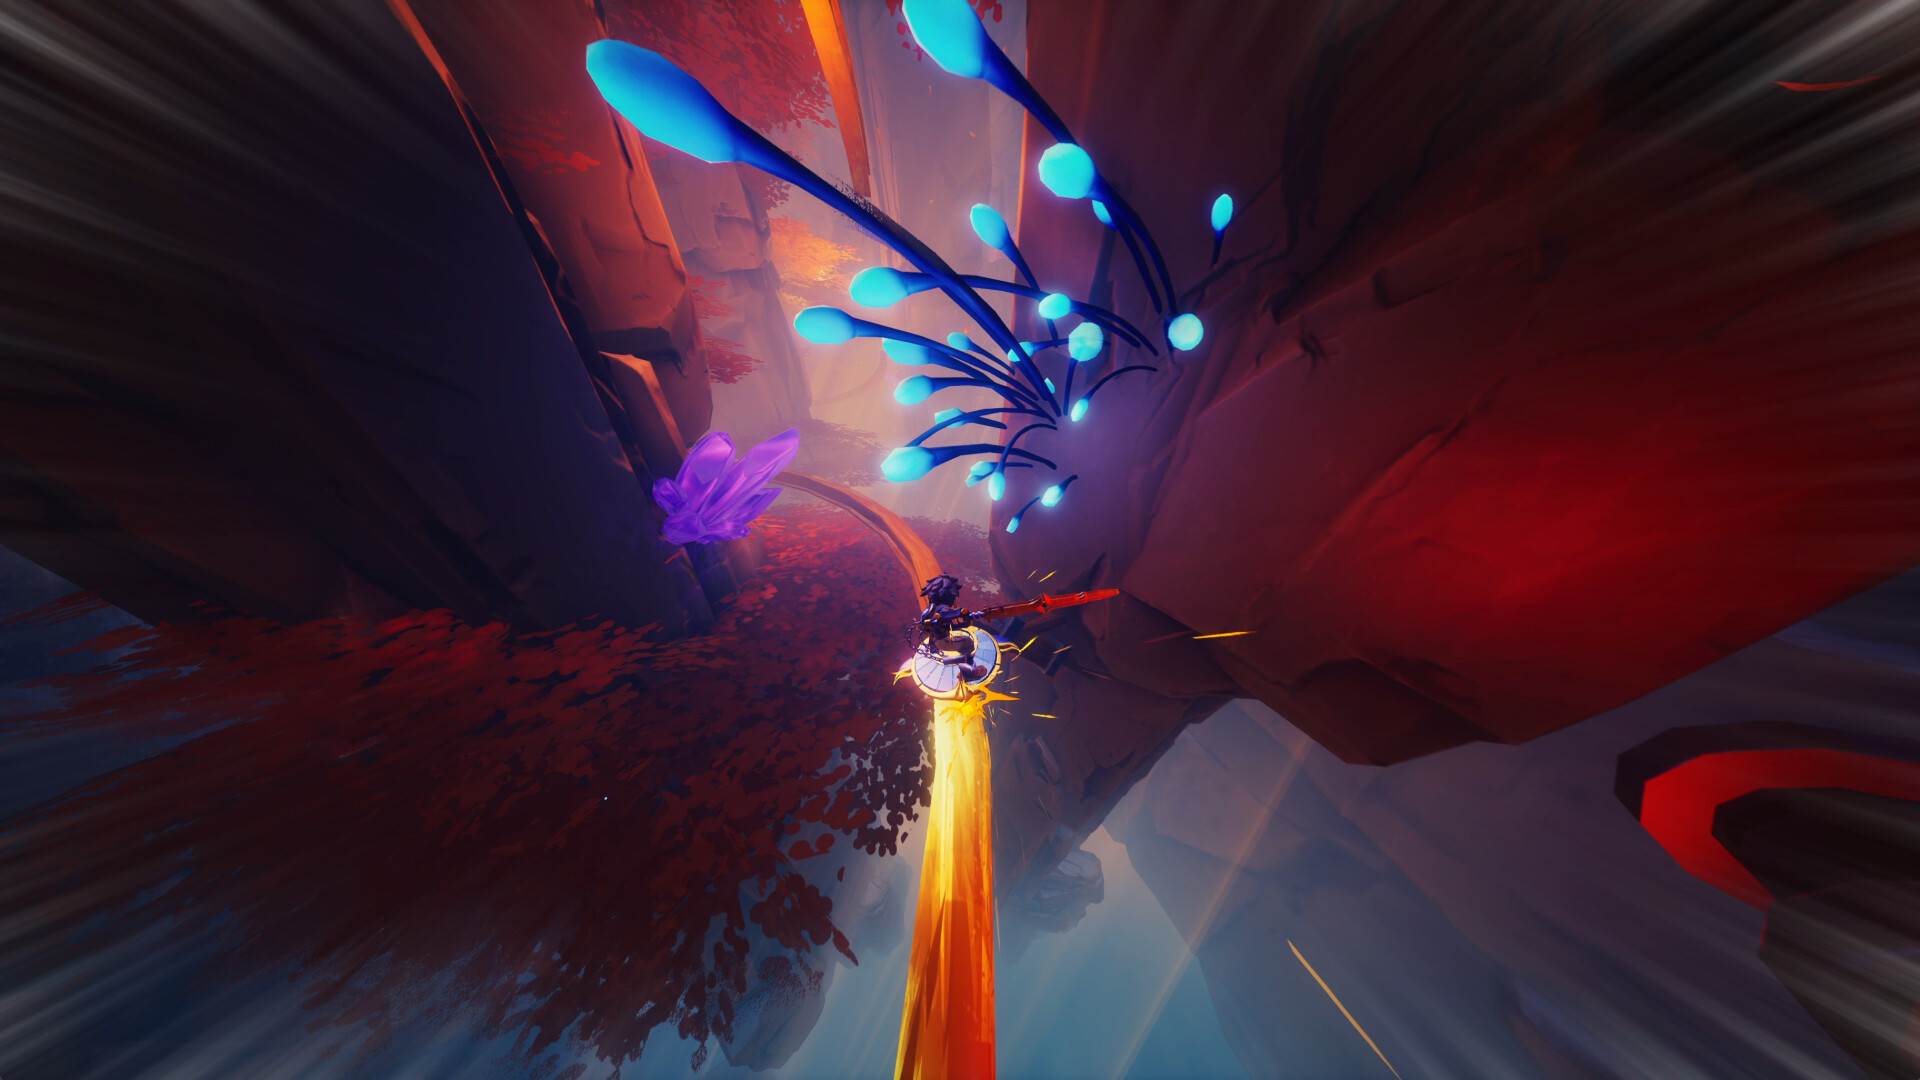
Tick Town
Main Objective
Tick Town is the central hub. From here you pick a path, spend upgrade resources, talk to merchants, and Fast Travel back after each area.
Route
- Arrive, talk to the NPCs that unlock the next story objective.
- Learn the four path exits: Volcano, Sea, Hills, and Desert.
- Use the Tick Town Fast Travel Point whenever you need to reset, shop, or switch paths.
- Come back often. Shops, cosmetics, music boxes, and several trophies live here.
Return Later
Other hub items are ability-gated, so do not treat Tick Town as finished on your first visit. Buying session upgrades, collecting N1-C0ins, and finishing Wally’s game all return here.
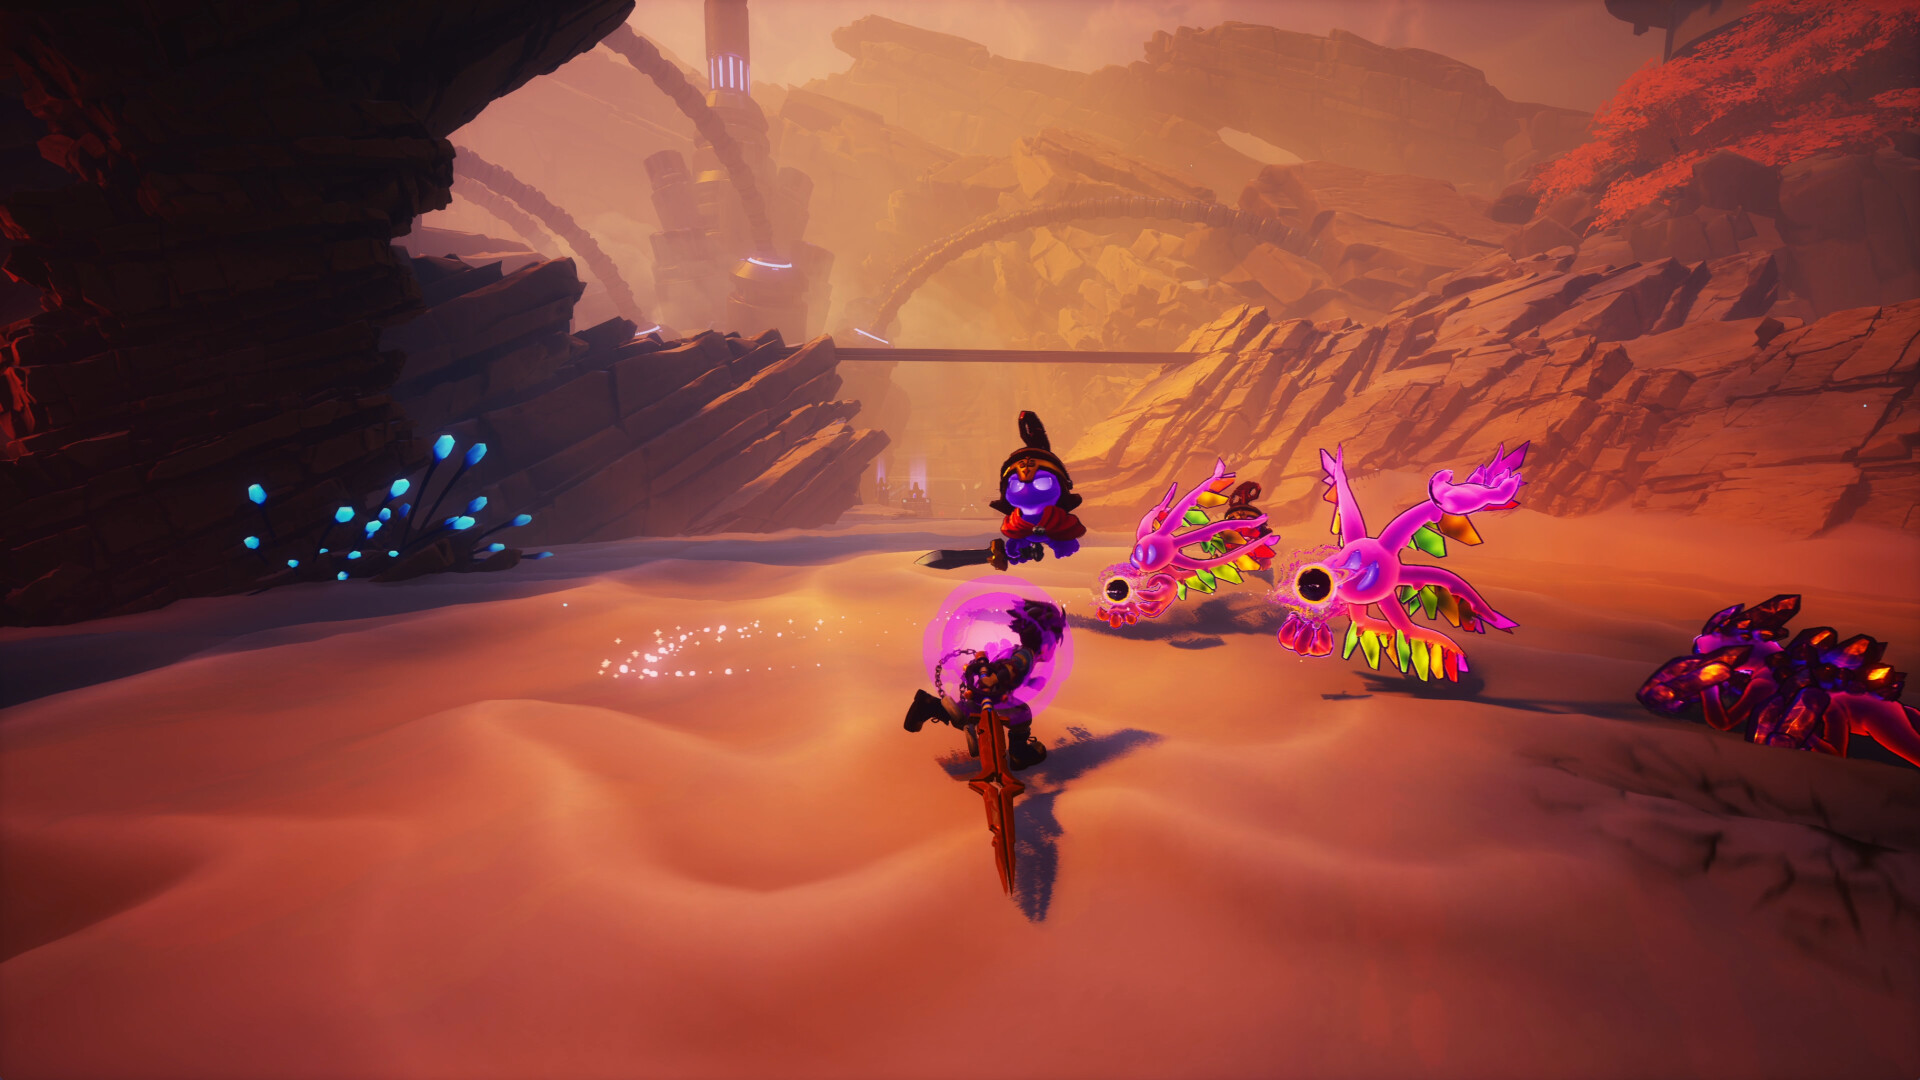
Wally’s Hiding Game
The full sequence for No peeking! follows six spots in a fixed order. Do each check before you leave the related path, because the later spots need late movement and the gold rail:
- Main street, in front of the Inn stairs.
- From the Tick Town Fast Travel Point, take the Desert path exit, then check behind the crate at the first corner on the right.
- Behind the blacksmith, then take the Sea path exit.
- At the end of the Hills path, check the chicken pen.
- At the end of the Desert path, check behind the train.
- In the Inn, open the top-floor bedroom.
The gold rail used by the later spots requires the Sundial from Celestial Kingdom. One community trophy guide compresses the same hide-and-seek to five spots; the full 100% Guides checklist lists six. Treat the six-spot order above as the complete route and finish the trophy as endgame cleanup.
Shops and Buyables
- Two Flasks of Dye and two Rainbow Ingots are bought from the shop next to the Tick Town Fast Travel Point.
- Some Music Boxes are given by the story. You still need the in-level boxes before Arpeggio at the Inn has the full song list.
- Upgrade Gears and Crystals are spent here on upgrades.
See the full Collectibles Guide instead of farming every Tick Town extra on your first visit.
Boss Fight Pattern
Every major boss in Duskfade uses the same three-threshold structure. Learn this once and every later fight becomes a matter of reading the new telegraphs.
- At roughly 75% HP, the boss pauses the fight and sets a platforming challenge between you and the next phase.
- At roughly 50% HP, the boss does it again with a harder layout and more active hazards.
- At roughly 25% HP, the boss does it a third time before the final phase.
Falling during a platforming segment resets that jump segment. It does not reset the entire boss fight, so you do not need to redo earlier damage in most cases. Keep Roll ready, use Lock-On when the camera gets busy, and treat the platform segments as calm moments to reposition and heal.
Volcano Path
Checklist order: Ezarus Forest → Scorched Grove → Starstone Mines → Mount Cinder → Prison of the Beast.
Ezarus Forest
First Volcano-path stage and a good first-hour exploration after Tick Town. The Ezarus Forest Fast Travel anchors two early action checks: Heartless (go left from the Fast Travel, climb the platforms in front of the NPC, then break the Cloudie guard’s pots) and You seem familiar (talk to the small-crown NPC, follow the path on their left into the castle, and read the book beside the chest inside).
Scorched Grove
Forest-to-fire transition. Collect what sits on the route and leave high or burned-out ledges for the later movement pass. The Heartless trophy action is not here; use the Ezarus Forest Fast Travel route instead.
Starstone Mines
Official material names the Mines as part of the expanded demo, so treat it as a story-critical underground stage. Return later if a ledge is clearly gated.
Mount Cinder
Volcano climb. Keep moving with the story marker. Just before the mountain, at Howling Geode, you fight Wrath.
Prison of the Beast
This is where Guayota lives, not at Mount Cinder. The current collectible checklists list no collectibles here. Play it for story and the boss, then leave.
Boss: Wrath
Location: Howling Geode, just before Mount Cinder. Wrath uses the standard 75/50/25 HP platform pattern. Jump the pillars, keep facing the boss as it repositions, and do not linger in the center when it telegraphs a sweep.
Boss: Guayota
Location: Prison of the Beast, the last stage before the Sea Path becomes available in most video playthroughs. Guayota is a larger, more deliberate fight than Wrath. Use the platform segments to heal and to read the next wave. It is the Volcano Path’s named end boss.
Sea Path
Checklist order: Meridian Village → Lantern Port → Clockwork Academy → Apprentice’s Wing → Craftsman’s Wing → Great Library → Scriptorium of the Twelve.
Meridian Village
Coastal approach. Between the village and the port, a tall wooden structure holds the Back to School trophy: find the Clockwork Academy.
Lantern Port
Lantern Port is a Fast Travel stop and one crystal-farm note in current trophy guides; you do not need it for a first playthrough. It is also a good point to return to Tick Town if your inventory is full.
Clockwork Academy
Major story landmark and the longest single area on the Sea Path. It splits into wings. The Back to School trophy is tied to discovering the Academy, which happens as you arrive.
Apprentice’s Wing
First academy interior. Keep following the objective. Sadness waits in the Amphitheater of Tears shortly after this wing.
Craftsman’s Wing
Second academy interior, with the workshop and tailors. Tailord appears around here; the later Be my muse! trophy updates from Tick Town after a Desert-path kitten, so do not spend hours hunting a specific outfit now.
Great Library
Bookshelves and vertical rooms. This is one of the usual ability-gated spots. Grab what you can, leave the rest.
Scriptorium of the Twelve
Late Sea-path stage and home of The Watcher.
Boss: Sadness
Location: Amphitheater of Tears, shortly after Apprentice’s Wing. Sadness uses the standard platform breaks. Stay on the outer ring when it sweeps, and use the jump segments to close distance.
Boss: The Watcher
Location: Scriptorium of the Twelve. The Watcher punishes greedy attacks. Hit two or three times, clear the platforming challenge, then repeat. It is the Sea Path’s final named boss.
Hills Path
Checklist order: Canal Hamlet → Celestial Kingdom → Royal Highroads → Auric Palace → Veiled Chambers.
Canal Hamlet
Opening Hills stage. Canal walls and rooftops hide the usual early items. Keep moving; you can sweep later.
Celestial Kingdom
The Sundial is here. That gold-rail ability is required for the later Wally hiding spots in Tick Town, so do not skip the Kingdom’s story objective.
Royal Highroads
Elevated route with long rail sections. Get the rhythm of the rails before you look for collectibles; the high roads are ability-gated in several places.
Auric Palace
Palace exteriors and interiors. The Observatory is a Hills-path landmark reached during the story; current guides place Guilt there rather than inside the palace proper, so treat Auric Palace and the Observatory as separate stops.
Veiled Chambers
Hills Path’s closing stage and the location of Father Gaoth. Current collectible checklists list no collectibles here; it is a story and boss stage.
Boss: Guilt
Location: The Observatory, during the Hills story. Guilt’s platform segments are the shortest of the mid-game bosses. Stay high and use the rail lines if they appear.
Boss: Father Gaoth
Location: Veiled Chambers, the Hills Path finale. Father Gaoth mixes melee and wind pushes. Treat the platform break as a checkpoint and re-read the arena before committing.
Desert Path
Checklist order: Deepthorne → Stonetusk Canyon → Clockmaker’s Rest → Desert of the Last Memory → Chronos Aeternum.
Deepthorne
Desert approach with steep dunes and underground tunnels. This is a late-game movement gate, so do not try to clean it on the first visit.
Stonetusk Canyon
A small optional NPC trophy lives here: A grandma’s love for finding the canyon grandma (around 4:46 into the full run). The canyon is also the route to the Desert’s Rest fast point.
Clockmaker’s Rest
Fast Travel landmark and the split point between Canyon and the last Desert stages. Current trophy notes use it for a Desert kitten around here.
Desert of the Last Memory
Wide, reflective desert. Solitude waits at the end of this area, just before Chronos Aeternum.
Chronos Aeternum
Clockwork ruins and the game’s desert climax. Anchored Wilhelm lives here. It is the last required fight before The Tower.
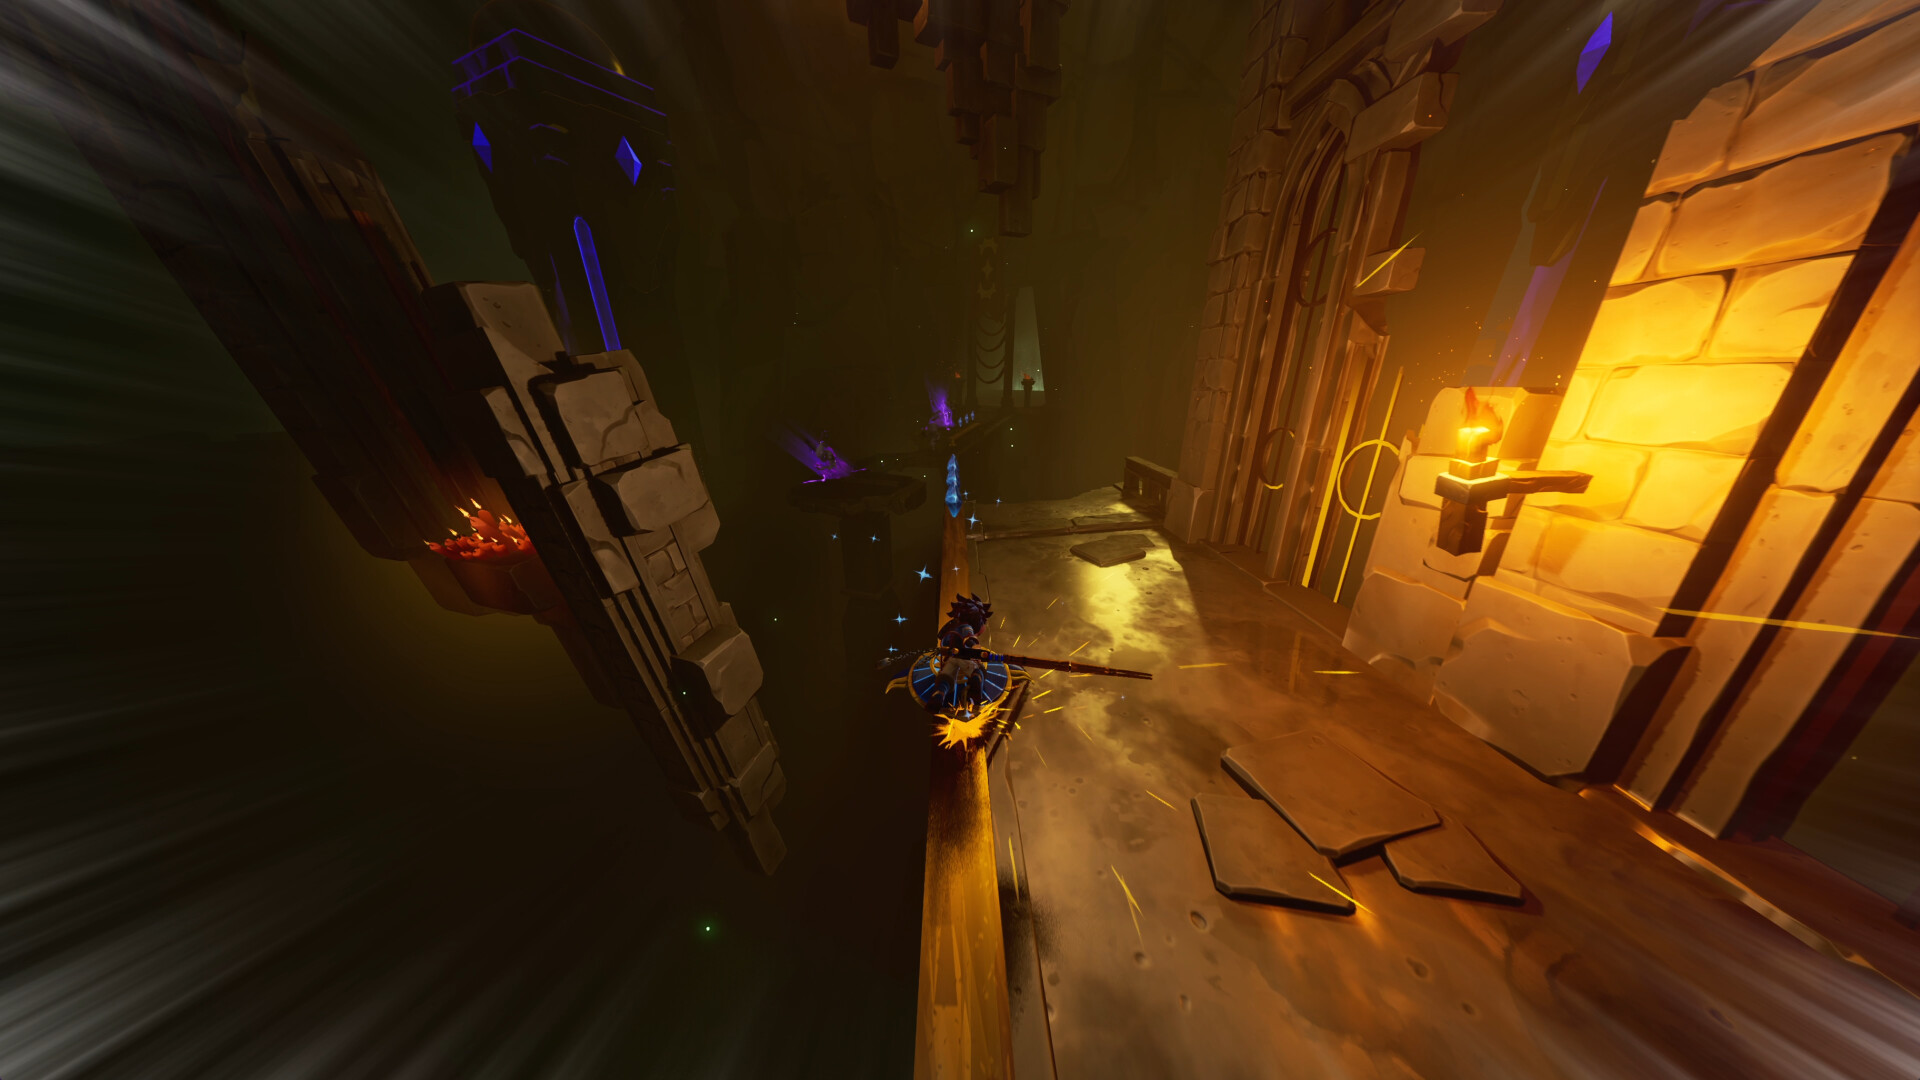
Boss: Solitude
Location: on the late Desert path, near the endgame desert stages. Current checklists do not pin Solitude to one area, so treat Desert of the Last Memory and Chronos Aeternum as the two closest named stages. Solitude uses the standard triple platform break and a long-range attack set. On the jump sections, use Glide to cross the widest gaps.
Boss: Anchored Wilhelm
Location: Chronos Aeternum. Anchored Wilhelm is the largest boss before The Tower and has the widest platforming phase in the Desert Path. Save a heal for after the third break, then push the final phase.
The Tower & Final Boss
Spoiler warning for the ending: this section names the final boss.
The Tower opens after Chronos Aeternum, and the final fight is Despair (also referred to as the final confrontation with Allira’s despair in the video reference). The encounter is a two-part struggle:
- The first phase, Despair, uses the standard 75/50/25 platform breaks with the Tower’s vertical structure.
- If you fail a platform segment, you fall back to the segment and continue; the story progresses to Allira’s Despair and the escape sequence.
The escape through the Tower is where the earliest story beats bookend the game. Keep the movement prompts in mind: rail, dash, glide, and the final climb all follow the same controls you learned at the start.
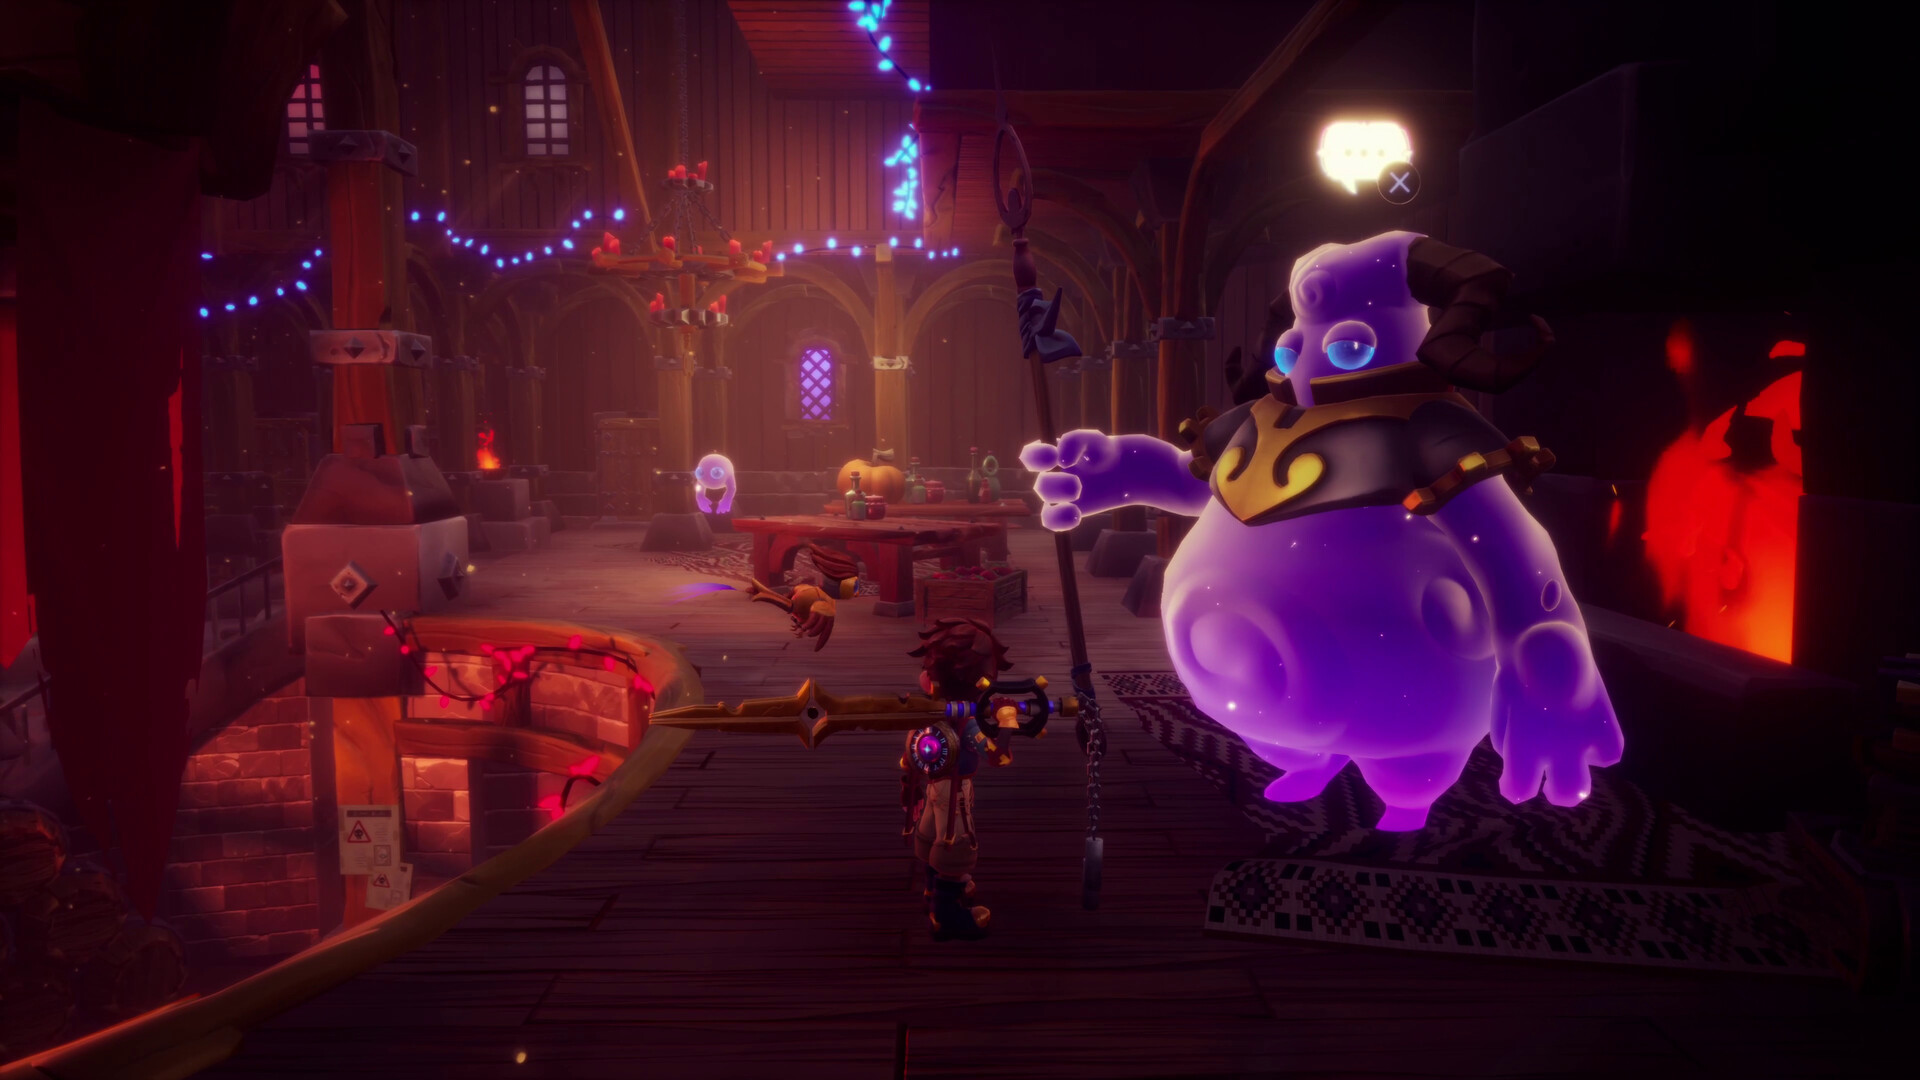
After the Story: 100% Cleanup
Nothing described here is a collectible that must be grabbed before the ending. Current trophy checklists describe the full game as zero-missable: every level can be revisited after the credits, including the early Tower stages.
Recommended cleanup order (from a full-video completion run):
- Finish the story.
- Buy the remaining Tick Town shop extras (Flasks of Dye, Rainbow Ingots).
- Return to Volcano Path and sweep Ezarus Forest, Scorched Grove, Starstone Mines, and Mount Cinder; Prison of the Beast has no collectibles.
- Sweep Sea Path: Meridian Village, Lantern Port, Clockwork Academy wings and library up to Scriptorium of the Twelve.
- Sweep Hills Path: Canal Hamlet, Celestial Kingdom, Royal Highroads, Auric Palace; Veiled Chambers has no collectibles.
- Sweep Desert Path: Deepthorne, Stonetusk Canyon, Clockmaker’s Rest, Desert of the Last Memory, Chronos Aeternum.
- Turn in Music Boxes, cards, kittens, glass, and ingots to their NPCs.
- Finish Wally’s hiding-spot trophy now that you have the Sundial and full movement.
- Check the live Achievements page for anything the run did not trigger.
Collectible types and counts are on the Collectibles Guide. The current community list includes Music Boxes, N1-C0ins, Thieving Kittens, Upgrade Gears, Clock Heart Pieces, Flasks of Dye, Rainbow Ingots, Echoes, Star Core Fragments, and Broken Stained Glass. Some of these, especially higher-up kits and stained-glass shards, need movement from the end of the game, so the cleanup is genuinely post-story work.
How Long Does It Take
- Main story, community estimates: about 10–12 hours at a normal pace.
- 100%, community estimates: 15–20 hours depending on how much exploration you do.
- Official FAQ: about 16 hours for all collectibles and achievements.
- Platinum / trophy focused: 9–12 hours at a 3/10 difficulty with 0 glitched and 0 missable, per the author of the full-video completion run.
Use the official 16-hour number as your planning figure. The 9–12 hour range assumes you already know the routes and skip side content during the story.
FAQ
Do I have to finish one path before opening another? No. Tick Town is the hub, and the four paths are returnable. Follow the current story marker; you may switch paths when the game gives you the option.
Should I 100% each level on the first visit? No. Movement unlocks through the story, and later abilities open earlier ledges. Zero-missable means you can sweep after the credits.
Are there missable collectibles? Current release-version checklists say no. There are missable achievements tied to specific actions (Temporal Anchor, Wally’s hide-and-seek, the Cloudie jars, Wilson, the canyon grandma, the desert stranger, and the Tower fall). Treat those as per-playthrough checks.
Where are all collectible locations? On the Collectibles page. This walkthrough only flags path-level reminders.
Is there an in-game map? No official flat map is documented. Navigation is Tick Town plus Fast Travel Points, teleporter pads, and the story marker. See Worlds for the area list.
How do I beat the final boss? Use the same 75/50/25 pattern, keep Glide ready for the tower structure, and treat the platform segments as recovery windows. The Tower escape section is a scripted sequence; follow the controls and the fallback is safe.
What is the best order for cleanup? Volcano → Sea → Hills → Desert, then return to Tick Town for shop items and turn-ins. Prison of the Beast and Veiled Chambers have no collectibles, so you can skip a full sweep there.